
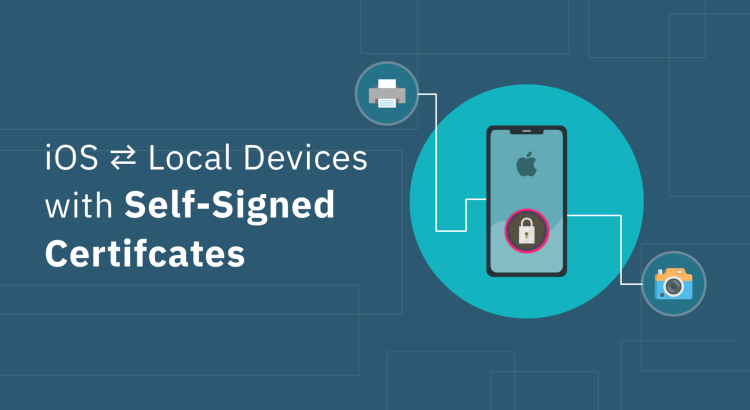
In one of our projects, we had to establish TLS communication between an iOS app and an accessory device on a local network that used a self-signed certificate. However, every attempt resulted in SSL errors, and we had to find a way to overcome these challenges. Here’s how we did it.
There are plenty of online resources that teach you how to support TLS communication in iOS apps. Transport Layer Security (TLS) is a security protocol that encrypts data and authenticates server and client devices when they communicate over the internet (The term SSL, which refers to its predecessor Secure Sockets Layer, is still frequently used to refer to a TLS connection. In many instances, both "SSL" and "SSL/TLS" are referred to as TLS protocol and TLS certificates.)
The difficulty arises when you have to establish a TLS connection for the communication between accessory devices on a local network and an iOS app, as it happened in our case.
The iOS device in question connects to a camera hotspot and communication occurs over Wi-Fi using URLSession. The camera operated on a local network and used a self-signed certificate rather than one from a trusted certificate authority. It also lacked a stable DNS name. Although the accessory device implemented TLS/SSL certificates and private keys, every attempt to establish a connection failed with an SSL error.
Apple’s Guidelines and Real-World Constraints
Since the device had a self-signed certificate to support TLS, trust wouldn’t be established automatically in the iOS app. Moreover, Apple explicitly discourages self-signed certificates outside of testing scenarios because they lack validation from trusted Certificate Authorities, making them vulnerable to security risks like man-in-the-middle attacks. However, we had no alternative but to proceed with the self-signed certificate.
To establish a TLS connection, we decided to implement SSL pinning within the iOS app. At first, we tried using TrustKit, a widely used library for SSL pinning. But that turned out to be a dead end. The camera was on the local network; it lacked both a static IP address and a static DNS. To work with TrustKit, a static DNS was required.
We trawled the internet for a solution but couldn't find any official documentation from Apple to handle this situation. We had to think creatively to overcome the challenge.
A Case for Thinking Outside the Box
After experimenting with different solutions, we finally decided to embed the camera’s public certificate within the iOS app. During the SSL handshake, the app validated the server’s leaf certificate against the embedded certificate, thus establishing trust without relying on a certificate authority. This solved our problem! We successfully enabled TLS communication with the accessory device and got rid of SSL errors.
But there was a catch—our method wasn’t Apple-approved. We knew a custom solution could mean compatibility issues or App Store submission hurdles.
Bringing the Issue to Apple’s Attention
We turned to the Apple developer forum for help. We shared our problem and the technical details of our solution and highlighted the necessity of a workaround mechanism for supporting TLS using self-signed certificates in local network scenarios.
Apple reviewed our case and acknowledged the need for a formalized solution. Since embedding the certificate only works if all instances of the accessory use the same self-signed digital identity, Apple suggested persisting the client certificate upon the initial connection and checking that the accessory uses the same certificate in subsequent connections. Apple called this the SSH approach. By adopting this SSH-like behavior, developers can manage trust with self-signed certificates even when the accessory firmware doesn’t provide robust certificate management.
This guideline, along with two other approaches, is documented in their official resources and serves as a vital reference for iOS developers facing similar challenges.
How to Implement the SSH Approach
To implement the SSH approach, you must disable the App Transport Security for local networking by setting the NSAllowsLocalNetworking property. By doing so, you can allow local connections without completely disabling ATS for all network traffic in the app.
Then you can override the https self-evaluation as shown below:
  //1
    var expectedServerCertificate: SecCertificate? = nil
    //2
    func urlSession(_ session: URLSession, didReceive challenge: URLAuthenticationChallenge) async -> (URLSession.AuthChallengeDisposition, URLCredential?) {
        switch challenge.protectionSpace.authenticationMethod {
        //3
        case NSURLAuthenticationMethodServerTrust:
            guard let trust = challenge.protectionSpace.serverTrust, shouldAllowHTTPSConnection(trust: trust) else {
                return (.cancelAuthenticationChallenge, nil)
            }
            let credential = URLCredential(trust: trust)
            return (.useCredential, credential)
        default:
            return (.performDefaultHandling, nil)
        }
    }

    //4
    func shouldAllowHTTPSConnection(trust: SecTrust) -> Bool {
        guard
            let chain = SecTrustCopyCertificateChain(trust) as? [SecCertificate],
            let actualCertificate = chain.first
        else {
            return false
        }
        guard let expected = expectedServerCertificate else {
            //Case A
            expectedServerCertificate = actualCertificate
            return true
        }
        //Case B
        return CFEqual(expected, actualCertificate)
    }
- Here, we are saving the server certificate during the initial connection in the variable
expectedServerCertificate. In a real-world app, you can persist this value to ensure the same logic applies when the app is launched again. - The URLSessionDelegate method
URLSession:didReceiveChallenge:completionHandler:is overridden to handle the authentication challenge. - The method
NSURLAuthenticationMethodServerTrustonly handles HTTPS server trust challenges; For all other cases, it defaults to.performDefaultHandling. - The method
shouldAllowHTTPSConnection(trust:)checks if the connection should proceed. Case A: If the app is connecting to the server for the first time, the connection is allowed by default. Case B: If the app has connected before, the method verifies that the certificate has not changed.
Security Challenges of the SSH Approach
One major risk of this method is that an attacker can intercept the initial connection and supply a malicious certificate that gets pinned. To mitigate this risk, additional security measures should be implemented. Some of these include:
- Serial Number Verification: If the accessory has a unique serial number, the app can prompt the user to manually enter or scan it via a QR code. This serial number can then be cross-checked with the one in the certificate.
- User Confirmation: If the accessory has a display, show a UI prompt requiring the user to verify a security code displayed on both the app and the accessory.
These help ensure that the initial connection is made with a legitimate device rather than an attacker, significantly lowering the risk of man-in-the-middle attacks. But they do not provide complete protection. Developers implementing this approach must be aware of the associated risks.
To securely communicate with a local device, it's best to create a custom certificate authority (CA) to issue certificates, install the certificate and private keys on the device, and have the app verify the accessory's certificate against the CA to ensure trusted communication.