


Adobe Campaign ranks as a leader among multichannel marketing hubs. Though it is a flexible and easy-to-implement system, it tends to get a bad rap for not being intuitive enough.
If you're new to Adobe Campaign, you will hit roadblocks for sure. I was that newbie once and had to tinker my way out of every problem. Even seasoned developers tend to lose time looking for options to solve seemingly simple problems. Let me share some tips and tricks that make working with Adobe Campaign a pleasure.
1. Download Files Easily Using Web Download Activity
Want to download a file from an S3 bucket to an SFTP location without all the trouble that it entails? You can do so using the Web download activity.
This could be the procedure you are now familiar with: You create an external account under Administration->Platform->External Accounts with server details and access key, and then select those accounts in workflow for file transfers.
Let's make this easier!
Scenario 1: You want to download a file from an S3 bucket whose path is unknown at the time of workflow configuration. To do this, define the path as a variable, and then use it in the URL field. You can then specify the storage directory of the downloaded file in File historization settings.
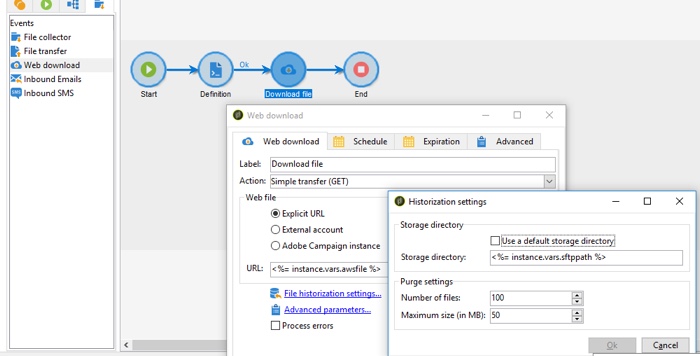
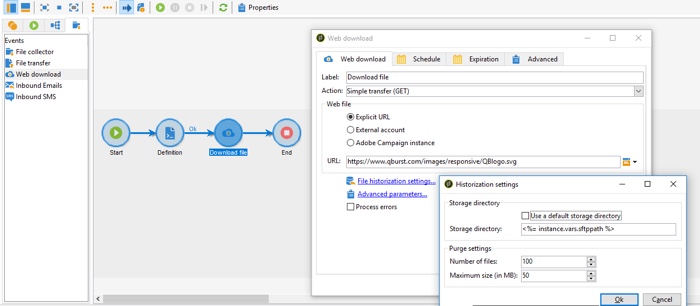
Scenario 2: You want to download a public file from the web using a workflow. Enter the URL of the file you want to download in the URL field after selecting the Explicit URL radio button.
When using an S3 account path in the URL field, make sure that the Adobe Campaign IP address has access to the S3 bucket.
2. Delete Lists Automatically
In the course of campaign development, you would have created hundreds of lists in profiles and targets. For example, your daily workflow creates a new list each day. You need them only for a particular execution, but soon they start taking up space. Here’s how you can clear them without going after each manually: Add an SQL script into your workflow to set an expiry date for the list. The list will be automatically deleted on its expiry date.
Let me show you how it’s done.
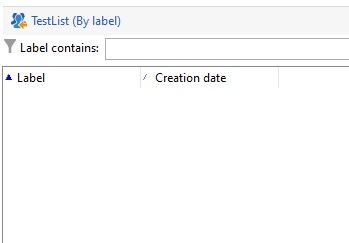
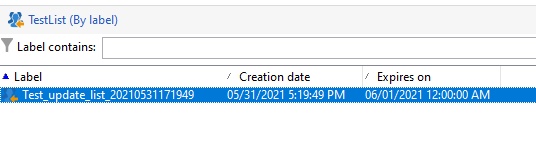
I’m going to create lists within the folder called "TestList" (Fig. 3) in the Profiles and Targets section.
In the workflow shown below, the query activity fetches nine records from a table and adds them into a newly created list within the “TestList” folder. The name of the list is dynamically generated during each workflow execution along with the time of its creation. For example, “list1_20210830171949.”
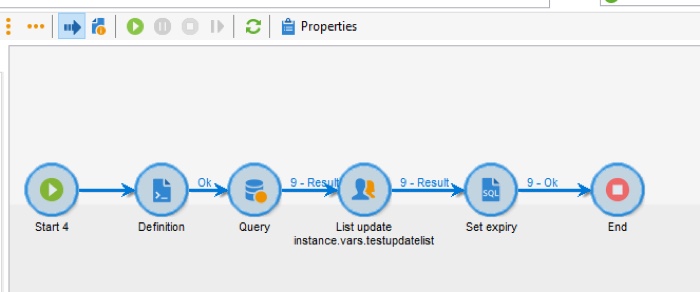
The SQL script in “Set expiry” activity updates the Expires on value in NmsGroup table.

After script execution, you can go to Profiles and Targets->Lists in Explorer and make sure you've set the date correctly in the Expires on column.
3. Block Unnecessary Transition Triggers
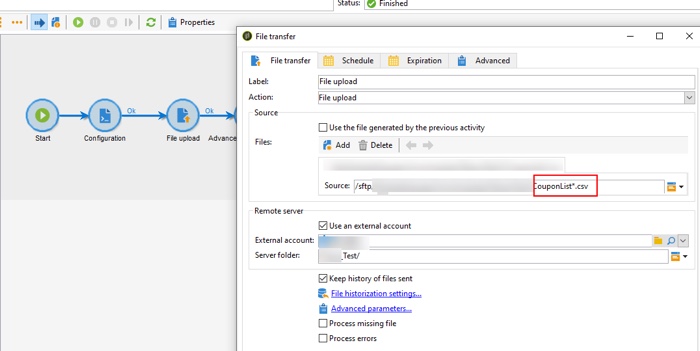
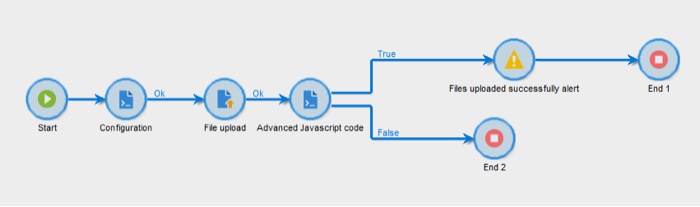
When you upload “n” number of files to AWS S3 bucket with a single File transfer activity by using an asterisk(*) in the source file path, the file transfer activity triggers the next transition also “n” times. To avoid this, you can create an Advanced JavaScript code with two outgoing transitions.
In JavaScript code activity, there are only two transitions (Ok and Error), but in Advanced JavaScript code activity, we can define and control multiple transitions. The first call triggers the next activity in the workflow. Subsequent triggers can be ignored by adding a transition to the End activity. (Note: If you have only one file to transfer or if you give the exact filename in the path, this issue will not occur.)
Let’s go through this step by step.
First, initialize the parameter flag to be used for the conditional check as 1 in the configuration activity.

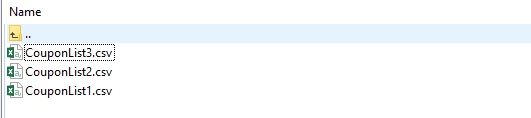
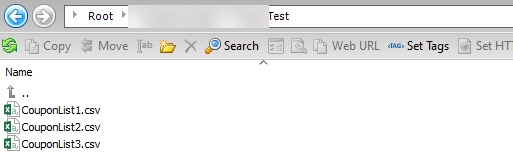
Next, define the File transfer activity to upload files from an SFTP location to AWS S3. I’ve chosen three files here.
The code to be used in the Advanced JavaScript code activity is shown below.
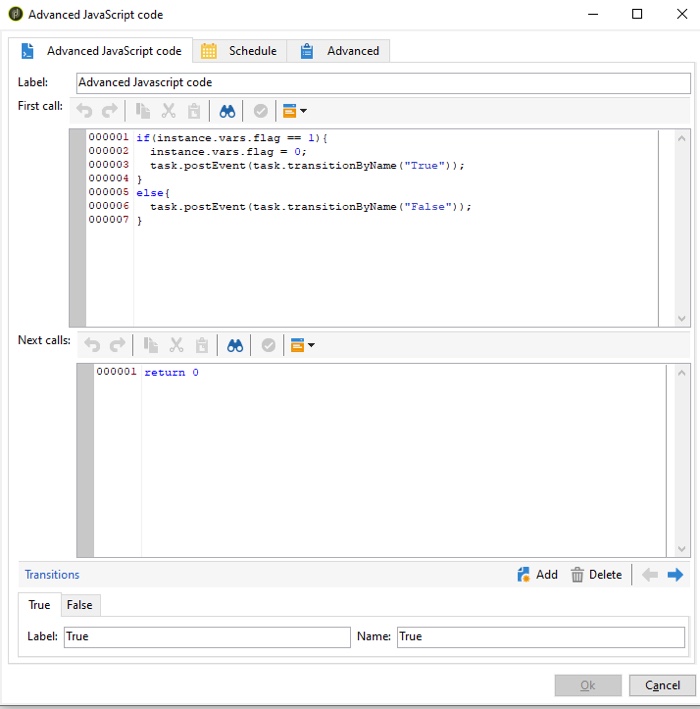
If the flag value is 1, it is reset to 0, and transition “True” is triggered, or else, transition “False” is triggered. Transition “True” goes to an Alert activity to send out an email notification for successful file transfer. This Alert activity is followed by the End activity “End 1”. Transition “False” goes to “End 2” (See Fig. 11).
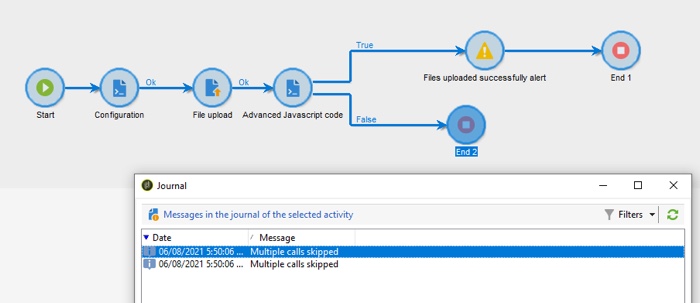
After the workflow is executed, all three files will be uploaded in the AWS S3 path (See Fig. 12), and “Advanced JavaScript code” will be triggered three times. However, the email notification is triggered only once as the “True” transition is triggered only once.
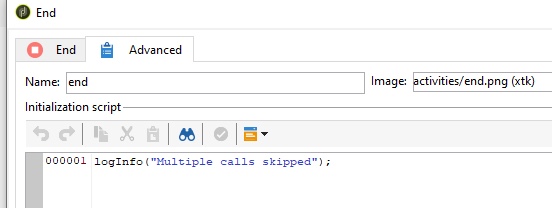
To know if multiple calls were ignored, you can also add logInfo(“Text”) command in the Advanced section of the End 2 activity as shown below.
To view the output after workflow execution, right-click End 2 activity and select Display logs.
4. Add More Campaign Activities After Email Delivery
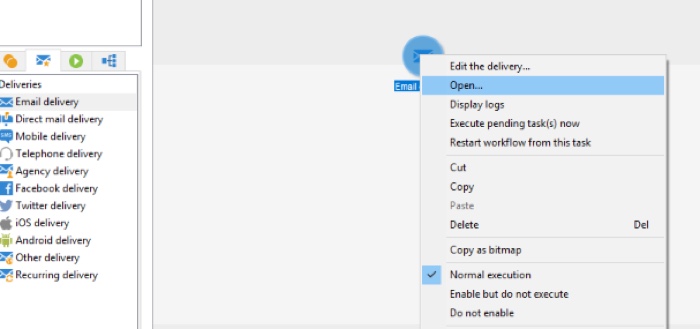
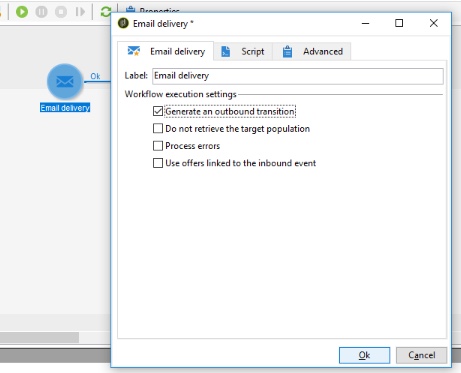
Campaign workflows usually end with a Delivery activity. But you can add another activity after a Delivery activity (for example, you need to send a success alert mail to a group of users after sending a campaign). Right-click the activity and select Open. Then check Generate an outbound transition and click OK. This will generate an outbound transition to add the next activity.
Well, it is as simple as that, though it’s hard to figure out on your own the first time!
5. Unpublish Web Applications Under Maintenance
To modify a published landing page, you have to temporarily close the application for maintenance. But there is no unpublish option in Adobe Campaign! Here’s a simple trick to circumvent the problem.
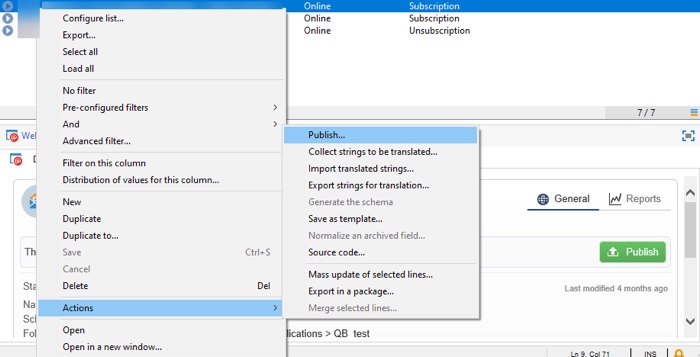
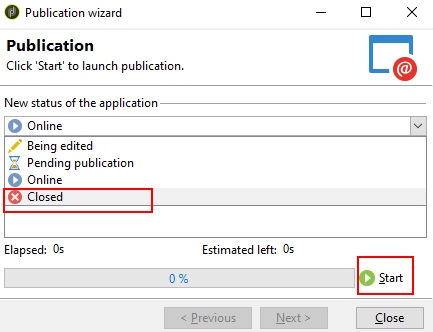
Right-click the web application you want to unpublish and go to Actions. Select Publish. In the New status of the application drop-down menu, select Closed and click Start. The page URL will no longer be accessible online. (You can use the same method to stow away unused applications for future reference without deleting them.) Once the maintenance is complete, you can Publish the page again from the Web application dashboard.
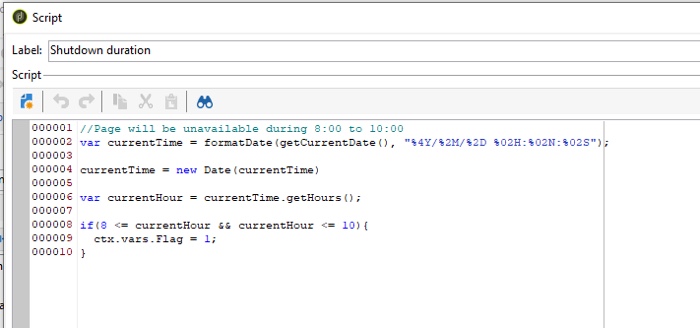
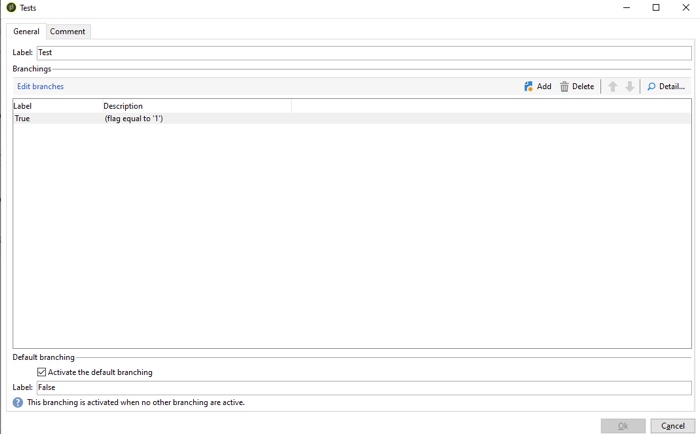
If you try to access the URL of the closed page, it will throw up an error message. If you like to redirect to a maintenance page instead, a flag can be set for a given time frame. Then, make a transition to the maintenance page or landing page based on test conditions as shown below.
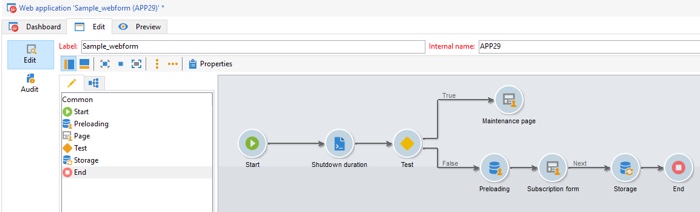
Once the above code changes are made, do remember to publish the web application again to reflect the changes.
In Closing...
It takes time and patience to master Adobe Campaign. So hang in there! If you are still struggling to get it right or not getting the desired results from your Adobe Campaign implementation, you can reach out to our team for help.